
Columbaria Installation Instructions
Columbaria Unpacking:
Please follow these steps carefully to remove the columbaria safely from the shipping pallet/s. Each columbarium is bolted to the shipping pallet in four places, one at each corner, with the bolts coming up through the bottom. In order to take the bolts out, you're going to have to remove the granite tiles on the far right and far left columns on the front and back sides of the columbaria.
Use the Columbarium to offer clientele with limited means a respectful resting place for themselves or loved ones. Our columbaria are available in multiple packages and designs that allow the possibility of future expansion.
-
1. Place the columbaria pallet/s directly next to the concrete foundation/s for easy transfer.
-
2. Remove the plastic wrap, wooden walls, and cardboard corner protectors to access the columbaria.
-
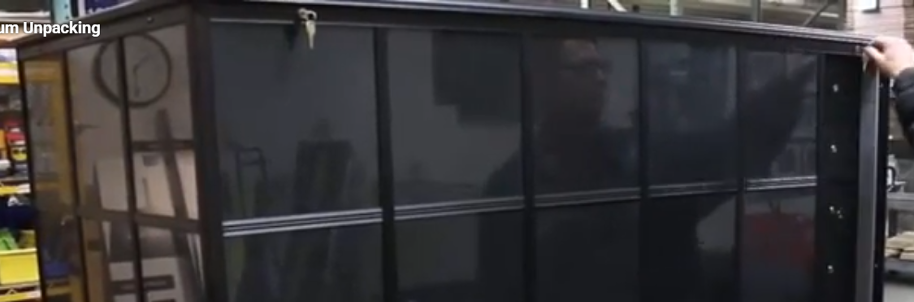
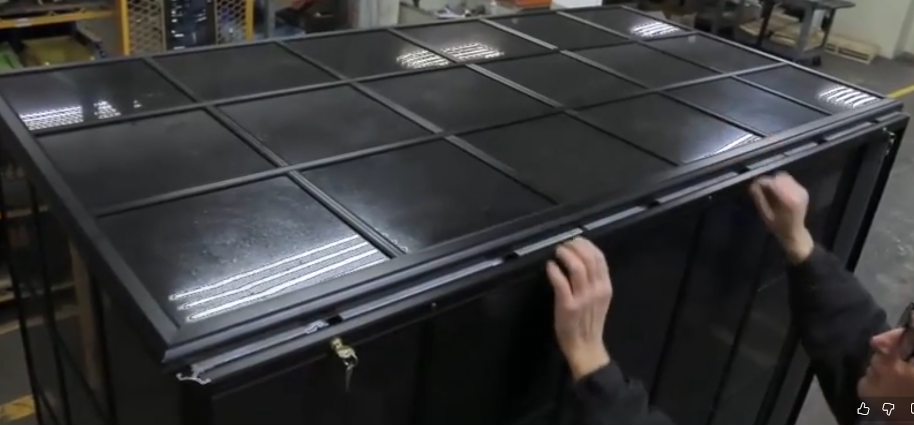
3. On the front (long) side of the columbarium, unlock the Lock Bar with the two gold keys and then slide the roof back (away from you).
-
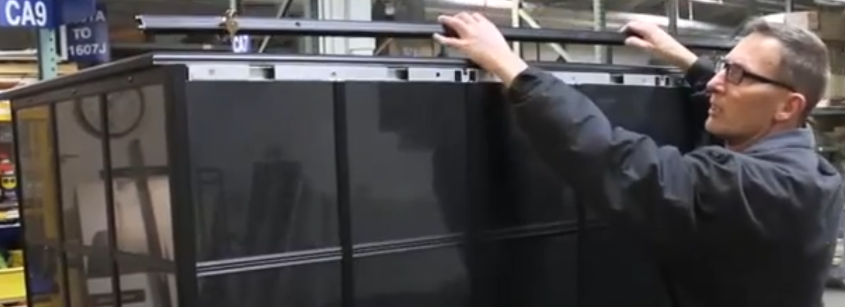
4. Remove the Lock Bar by lifting it up and out of the frame.
-
5. Please read the three important notes below before completing this step 5. Remove the granite tiles from the far right and far left columns on the front longer side by sliding the tiles up and lifting them out of the frame.
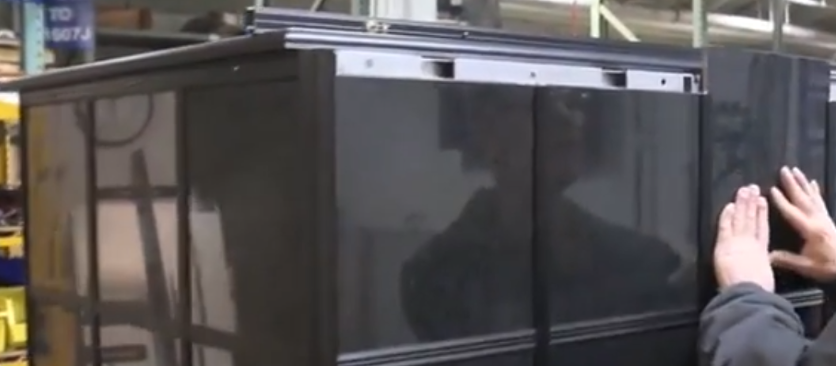
Special Note: For step 5, you may choose to remove all the tiles from all columns on the front and back sides (longer sides) to reduce overall columbaria weight to assist with moving the columbaria with pallet jack/s instead of a forklift or other machine. Please read our Columbaria Transportation/ Delivery Instructions for more information.
Safety Note: Never place your hands inside of the gap created once the tiles have been lifted up. Be aware of this risk and avoid placing your hands underneath the tiles. Instead, try to keep hands above the tiles when lifting them.
Important Note: Make sure to mark the granite tiles in numerical order with the included dry erase marker on the tiles to make sure they are put back in the original orientation/ order. You can label them as A1, A2, A3, etc. for the first column, then B1, B2, B3, etc. for the second column and so on. It helps to draw an arrow up on the tiles to make sure they are not rotated when replaced. This is important because the granite tiles have been custom cut to fit in their current positions, and if they are moved or rotated, they may not fit perfectly in the tracks anymore.
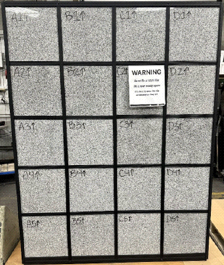
-
6. Remove the crossbars by sliding each crossbar up and lifting them out of the frame.
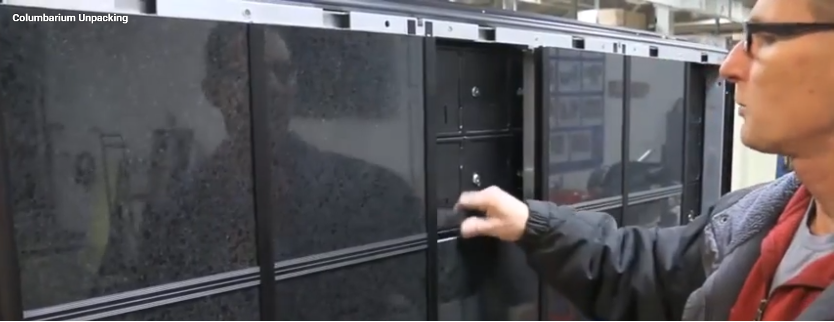
-
7. Remove the next tiles and crossbars on the far left and far right columns by repeating steps 5 and 6 until you reach the bottom of each column. You may remove all the tiles and crossbars from the front and back sides (longer sides) to make moving the columbaria without equipment easier.
-
8. To access the opposite side (back side) of the columbarium, pull the roof forward (towards you) to expose the Top Rail on the opposite side.
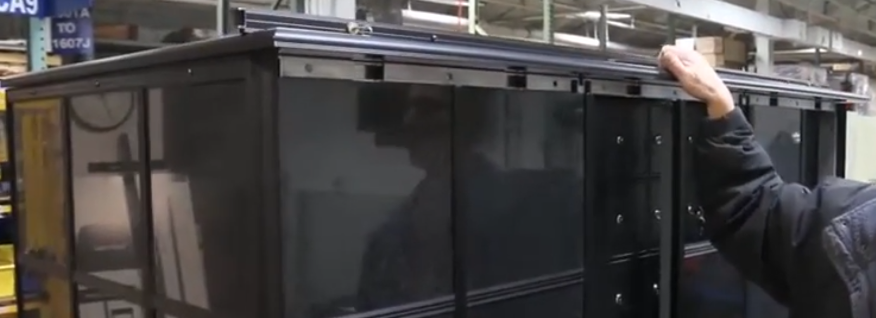
-
9. Remove the Top Rail by lifting it up and out of the frame.
-
10. Remove the tiles and crossbars by repeating steps 5 through 7 until all the tiles from the far right and left columns on the front and back sides (longer sides) have been removed.
Special Note: For step 10, you may choose to remove all the tiles from all columns on the front and back sides (longer sides) to reduce overall columbaria weight to assist with moving the columbaria with pallet jack/s instead of a forklift or machine. Please read our Columbaria Transportation/ Delivery Instructions for more information.
-
11. Using a wrench or drill, remove the 4 nuts from the 4 bolts that hold the columbarium to the pallet and then remove the bolts before the next step.
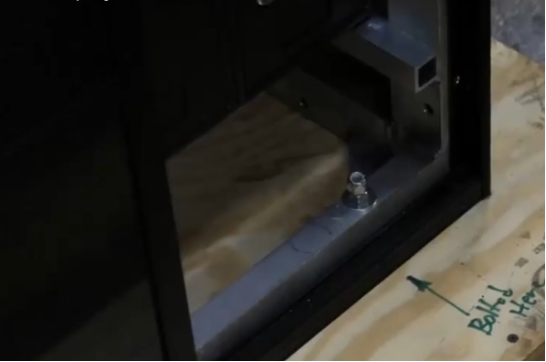
Moving Columbaria from Pallet/s to Foundation/s: Before moving the columbaria from the wooden pallets to the concrete foundation/s, you need to have removed the 4 bolts that hold the columbaria to the pallet (see prior steps). Make sure the pallet is directly next to the concrete foundation and as close as possible. You may remove as many granite tiles as needed on the front and back (long sides) of the columbaria to reduce weight for moving them.
-
12. Now once the far right and far left column tiles from the two large sides of the columbaria have been removed and it has been unbolted from the pallet, the reduced weight will allow you to gently slide it across the pallet’s plywood top to the concrete foundation. If you need to move the columbaria further, you may use 3/8” round rods as rollers underneath the columbaria to slide them on the rods. An important note is that if you need to get something underneath the columbaria, you never want to pry on any of the black extrusions as that could damage the unit.
Note: You cannot use straps to lift the columbaria off the wooden pallets as this can warp the aluminum frames. If needed, you can elevate the columbaria pallets with 2”x4” lumber or additional pallets to match or exceed the height of the concrete foundation. Then slide the columbaria from the pallet/s to the concrete. You can apply some small granular (extremely fine) sand such as a sand texture additive for paint onto the foundation to help the columbaria slide if needed.
-
13. Now once each columbarium has been placed into position, look for gaps in between the bottom of the frame and the concrete. If gaps are present, apply some shims to fill those gaps. This is important because you never want to force the columbaria framework to conform to the concrete. You want to keep the columbaria framework as flat and level as possible, which is why its location should be as flat and level as possible.
-
13. Now once each columbarium has been placed into position, look for gaps in between the bottom of the frame and the concrete. If gaps are present, apply some shims to fill those gaps. This is important because you never want to force the columbaria framework to conform to the concrete. You want to keep the columbaria framework as flat and level as possible, which is why its location should be as flat and level as possible.
-
Anchoring Columbaria to the Foundation:
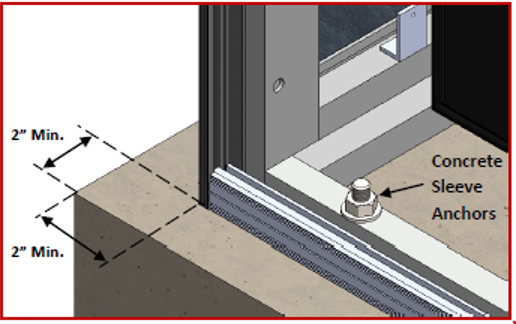
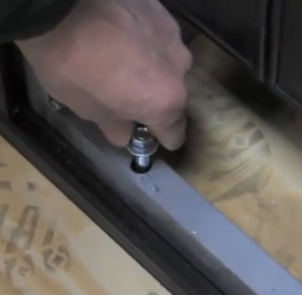
14. Each columbarium has holes in the frame that allow you to drill through the hole and into the concrete. Using a rotary hammer, drill the holes into the concrete in each corner of the columbaria making sure to remove as much concrete dust as possible from the holes for the anchors.
-
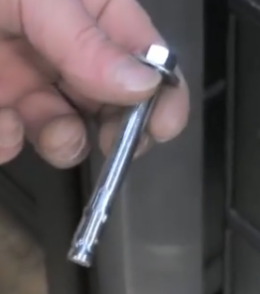
15. Each columbarium should be mounted to concrete with 4 concrete anchor bolts (one on each corner) that are 3/8” diameter x 4” to 5” long sleeve anchors. You can use up to six anchor bolts, but the center ones should not be overtightened because we don't want to distort the frame. Place a concrete sleeve anchor into the 4 holes and lightly hit them with a mallet or hammer to set them into the concrete. The holes should be large enough for sleeve anchors that are 3/8” diameter bolts with the ½” inch sleeves to fit tightly. Hand thread the nuts onto the anchor bolts and lightly tighten the nuts with a ratcheting wrench to slightly less than hand tight.
Note: You cannot use straps to lift the columbaria off the wooden pallets as this can warp the aluminum frames. If needed, you can elevate the columbaria pallets with 2”x4” lumber or additional pallets to match or exceed the height of the concrete foundation. Then slide the columbaria from the pallet/s to the concrete. You can apply some small granular (extremely fine) sand such as a sand texture additive for paint onto the foundation to help the columbaria slide if needed.
-
Reassembly of Columbaria after Anchoring:
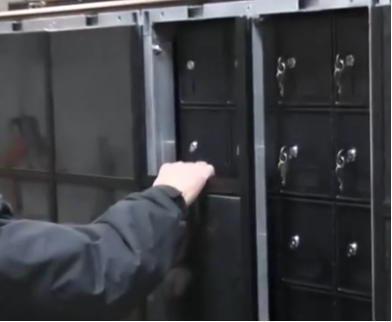
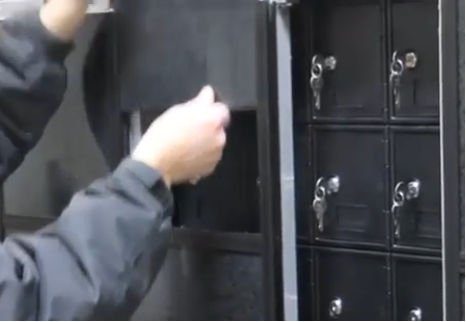
16. After the columbaria framework has been anchored, then reassemble the columbaria by replacing all the tiles and crossbars on both the front and back sides. Please put the tiles back in the original orientation/ order by following the labels and arrows that you wrote on the tiles to make sure they are not rotated when replaced.
-
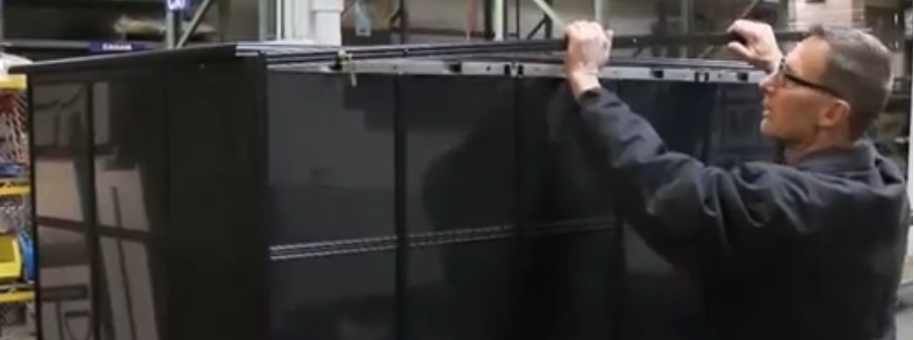
17. Replace the Lock Bar and the Top Rail that you've removed from both sides of the columbaria. You will need to slide the roof like you did previously for this step.
-
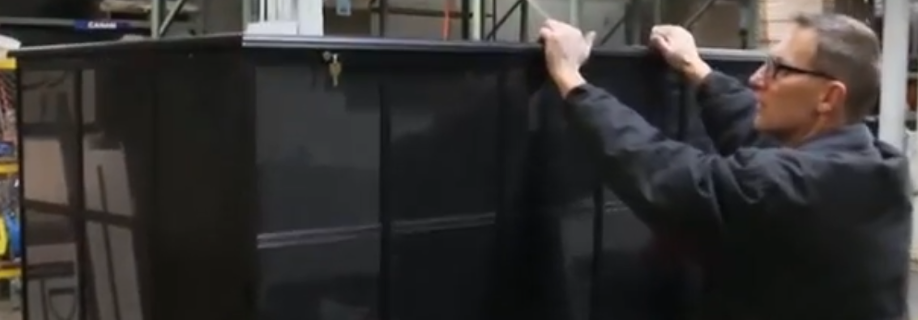
18. Slide the roof towards you to center the roof for the next step.
-
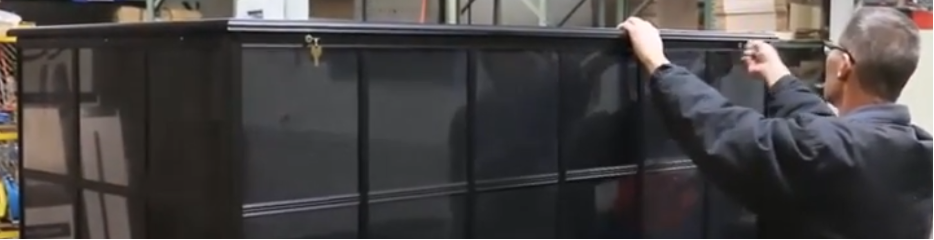
19. Finally, lock the Lock Bar with the 2 keys, and remove the gold keys. Secure the keys in a safe place as you will need them to add urns to the niches in the future.
- Please do not move the columbaria or take them off the shipping pallets until you speak with our team regarding the proper transport/ installation, or have fully read and understood the transportation and installation instructions in order to protect the columbaria.
- If using a forklift, skid steer, tractor, or telehandler to move the 6 or 8 column columbaria, we highly recommend operating the equipment with at least 6 ft to 8 ft fork extensions and driving very slowly with the columbaria in order to not shake them during transit as all our columbaria are not meant to be roughly shaken on uneven terrain. The 2 and 4 column columbaria can be moved with pallet jacks or machines that have standard length forks. For all of our columbaria, you may choose to remove all the tiles from all columns on the front and back sides (longer sides) to reduce overall columbaria weight to assist with moving the columbaria with pallet jack/s instead of a forklift or other machine. Please read our Columbaria Transportation/ Delivery Instructions for more information.
- If you need us to store your columbaria in our warehouse before delivery for an extended period for any reason, we can do so for a small storage fee. Please call our phone number below for columbaria storage pricing.
- Please watch the installation video link below, read the Columbaria Installation & Transportation Instructions, and see the Manufacturer’s Recommendations – Concrete Slab Construction & Mounting. https://youtu.be/nWbsxpMRTYs
- Thank you for your interest in our columbaria products. If you have any questions or if we can assist in any way, please reach out anytime and we’re happy to help. Phone: 1-800-229-4500 Email: sales@columbariumniches.com